Picture this: the cake is frosted, the cookies are cooled, and you want to write “Happy Birthday” in neat, even letters — without wrestling a piping bag. That is exactly the moment an edible writing pen earns its place in the kitchen drawer. It works like an ordinary marker, except the ink is made to be eaten, so you can letter, doodle and add fine details directly onto desserts.

What Are Edible Writing Pens?
Edible writing pens are food-safe markers designed for decorating cakes, cookies, cupcakes, fondant and other sweet surfaces. The ink is made from edible ingredients — typically water, sugar-based carriers and food colourings — so the finished decoration is safe to eat along with the dessert itself. They come in a range of colours and nib sizes, from ultra-fine tips for lettering to broader tips for colouring larger areas.
They are not the same as ordinary markers, and they are not meant for paper. They are made for food surfaces, which is why they behave differently: the ink needs a fairly dry, smooth surface to sit cleanly, and it dries quickly once applied.
Which Surfaces Work Best?
Edible pens work best on dry, smooth, firm surfaces. Royal icing, fondant, marzipan, dried buttercream and the flat tops of cooled sugar cookies all take ink well. Chalky or crumbly surfaces, wet frosting and anything greasy will smudge or resist the ink, so test first if you are unsure.
Always let your base layer set before you write. A cookie that is still warm, or buttercream that has not crusted, will drag and blur. If you are working on a cake, chill it briefly so the surface is firm, then bring it back to a workable temperature before decorating.
How to Use an Edible Writing Pen
Using one is straightforward, but a little preparation makes a visible difference:
- Start with a cool, dry surface. Make sure cakes and cookies are fully cooled and any icing is set.
- Test on a spare piece first. Try your lettering on parchment paper or a spare cookie to check colour, line width and pressure.
- Shake gently and prime the nib. Shake the pen lightly, then press the tip briefly onto a spare surface until the ink flows evenly.
- Write slowly with light pressure. Let the pen glide rather than pressing hard; heavy pressure dents soft icing and floods the nib.
- Let it dry before handling. Edible ink dries quickly, but give the decoration a few minutes before stacking, boxing or wrapping.
For straight lettering, lightly sketch guide lines with a toothpick first, or print your wording and practise the spacing on paper. Small, consistent letters almost always look better than large, rushed ones.
Choosing the Right Pen
Tip size matters more than brand. A fine tip (around 1 mm or less) suits names, dates and detailed drawing. A medium tip works for bold headings and colouring. If you plan to do both, buy a small set with two tip sizes rather than a single pen.
Colour matters too. Dark colours — black, brown, navy — show up best on pale icing and are the most forgiving for lettering. Pastels look lovely but can disappear on white fondant, so reserve them for accents on darker backgrounds. Check the ingredient list before buying, especially if anyone eating the dessert has allergies: edible inks can contain ingredients such as glycerine, food colourings and, in some products, traces of common allergens.
Decorating Ideas Worth Trying
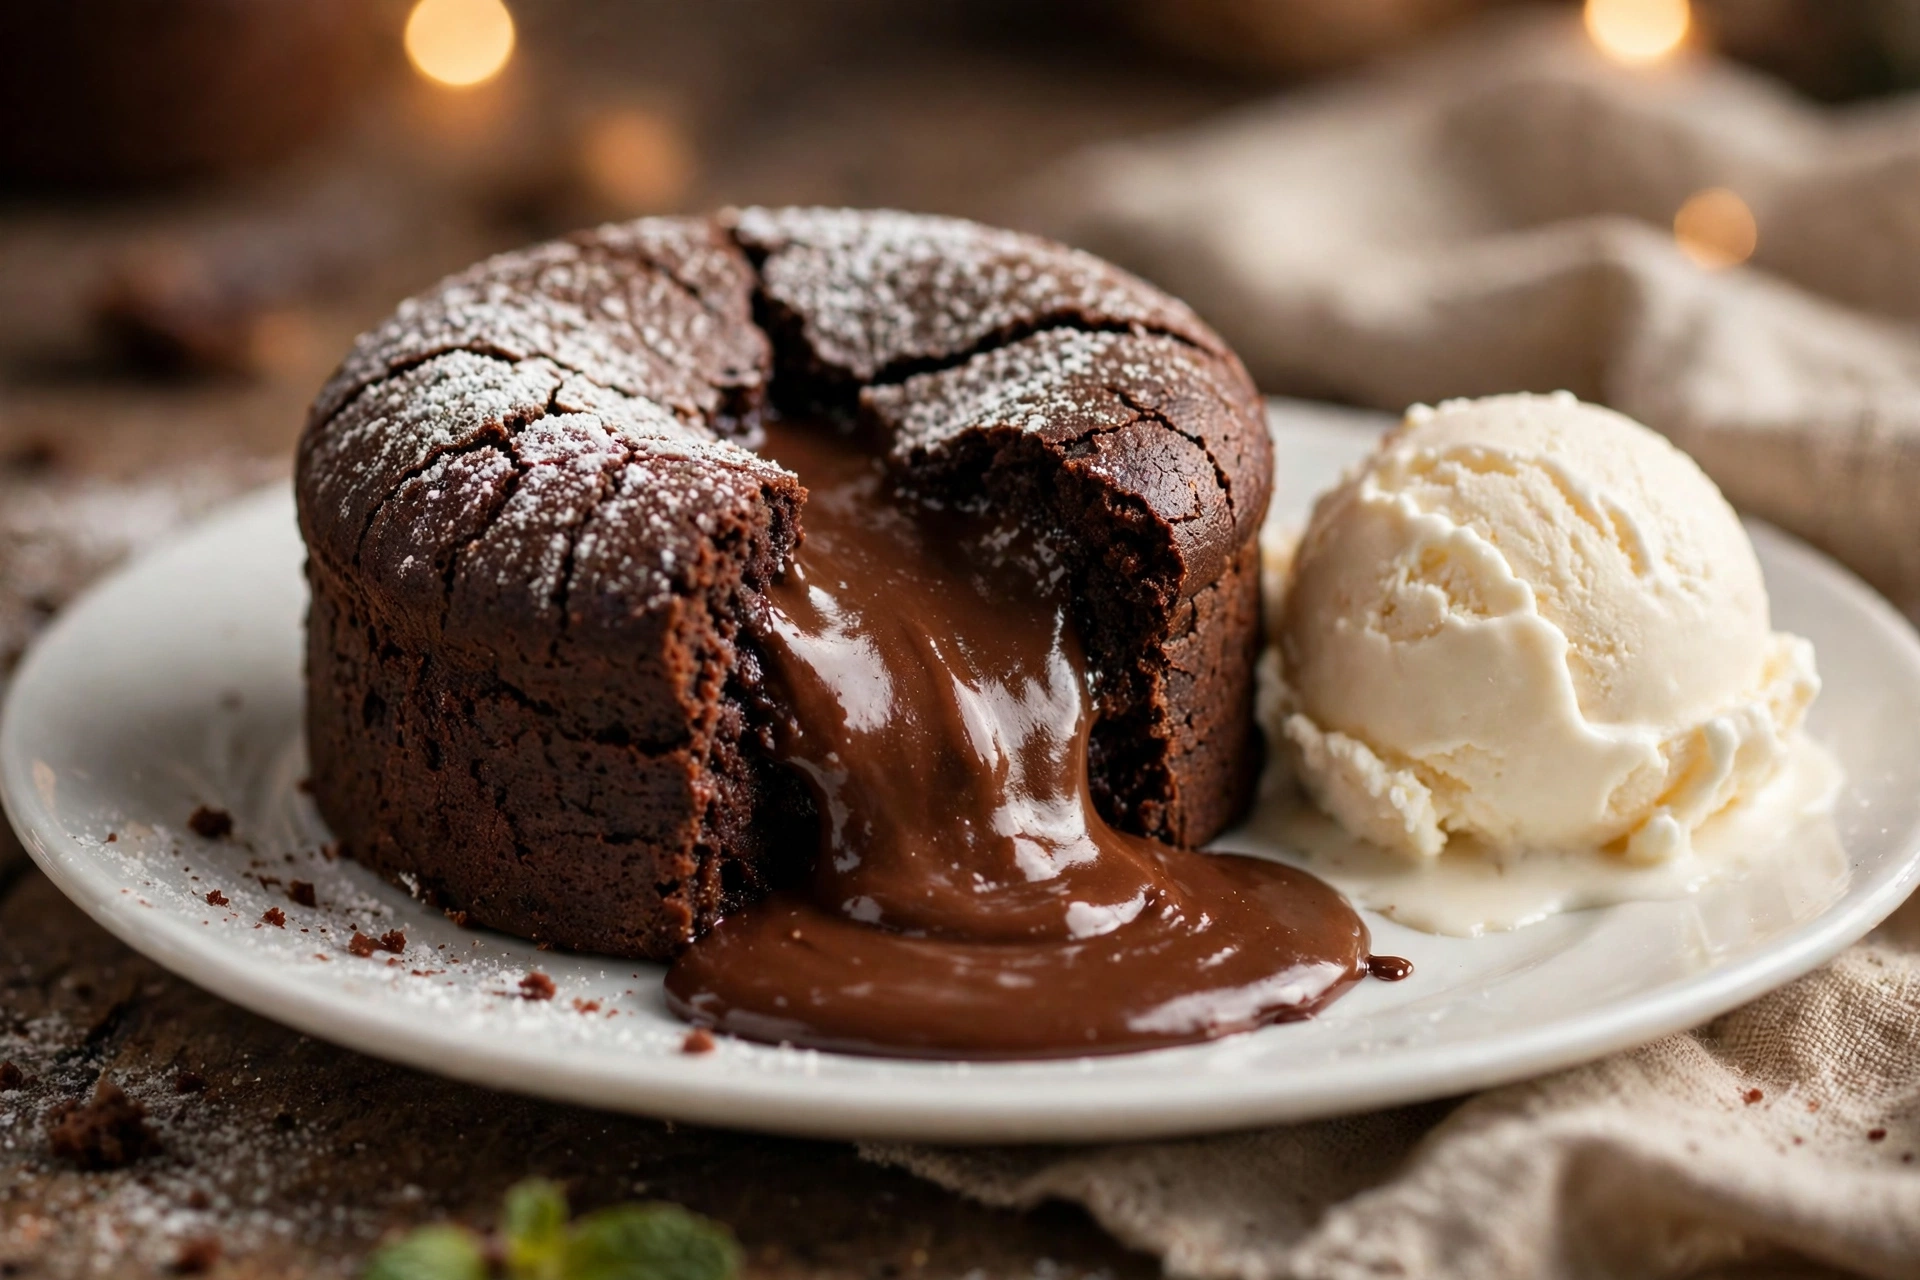
Edible pens shine on projects where piping would be fiddly. Write names on individual cupcakes for a party, add a short message to a celebration cake, draw simple flowers or borders on cookies, or label flavours on a dessert table so guests know what they are picking up. They are also handy for decorating a molten chocolate cake presentation plate or a serving card, where a handwritten touch beats a printed label.
For themed bakes, combine techniques: pipe the main border, then use the pen for the fine details — faces, small patterns, dates or a signature. The pen will not replace piping for large, raised designs, but it is the easiest tool for anything that needs to look handwritten.
Common Mistakes to Avoid
Most disappointing results come from a handful of avoidable mistakes. Writing on wet icing is the biggest one — the ink bleeds and the nib picks up crumbs. Pressing too hard is another: it floods the line and dents the surface. Storing pens nib-down or uncapped dries them out, so store them horizontally with the cap on, away from heat.
Edible ink can also fade or smudge if it gets damp, so keep finished pieces away from condensation, humidity and direct contact with wet fillings. If a cake needs to be refrigerated, box it first so moisture does not settle directly on the decoration.
Allergies, Storage and Safety
Edible pens are food products, so treat them that way. Read the ingredient list, check for allergen warnings, and keep the packaging until the dessert has been served in case anyone asks what was used. Do not use a pen that has been used on non-food surfaces, and do not share a nib between a finished cake and raw ingredients.
Store pens in a cool, dry place with caps firmly on. Like other food colourings, they have a shelf life — if the ink smells off, the colour has changed, or the nib is damaged, replace the pen rather than risking a spoiled decoration.
Frequently Asked Questions
Can you eat everything an edible pen writes with?
Yes, when the pen is a genuine food-grade product used as directed. The ink is made from edible ingredients. Always check the label, and do not substitute craft markers, which are not food-safe.
Will edible ink work on chocolate?
It can, but results vary. Smooth, set chocolate takes ink better than soft or oily chocolate, and dark colours show up best. Test on a spare piece first, and work on a cool, dry surface.
How long does the writing last?
On a dry, well-stored dessert it lasts for the life of the bake. Moisture, heat and handling are what fade or smudge it, so store finished pieces in a dry box and avoid stacking decorated surfaces against each other.
Final Thoughts
An edible writing pen will not turn anyone into a pastry chef overnight, but it removes the hardest part of dessert decorating: getting words onto the cake neatly. Used on a dry surface, with a light hand and a quick test first, it gives home bakers a simple way to add a personal, handwritten finish to cakes, cookies and cupcakes. For hobby bakers and anyone decorating for a celebration, it is a small, inexpensive tool that earns its drawer space.